Create a New Measurements Page
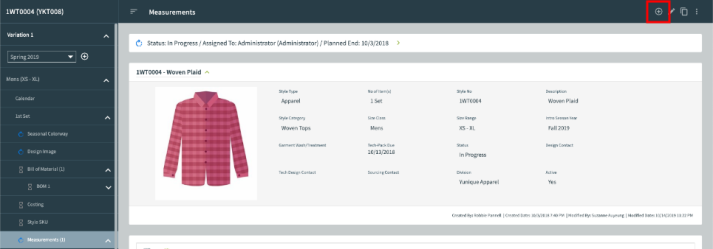
New Button
-
Click the new button to start the process of setting up a brand new Measurements page.
-
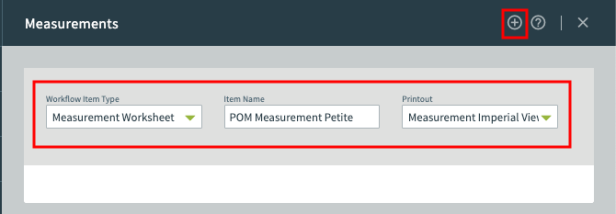
A new Measurements window opens. Choose a Workflow Item Type, enter a name in the Item Name box and select a Printout.
-
Click the add button.
-
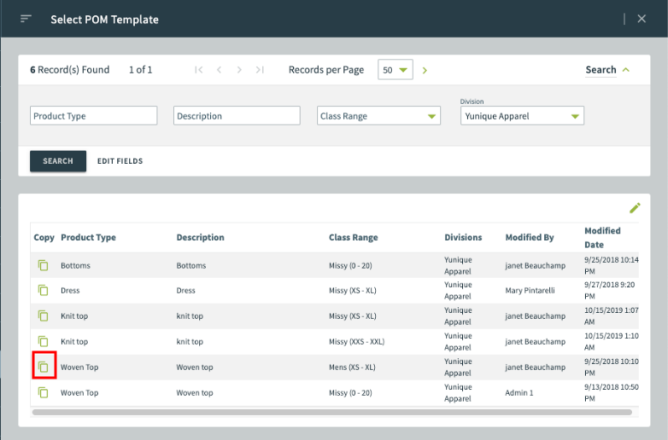
A new window opens with a list of available measurement templates. Select an available template’s copy button.
Note: The close button takes you back to the Measurement page without adding a template. Eventually, a template needs to be selected to continue working on the Measurement page.
-
The page refreshes and displays the POMs and tolerances associated with the selected template.
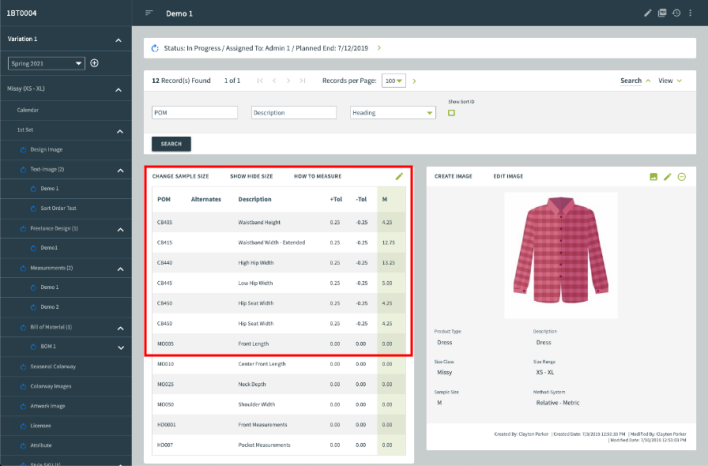
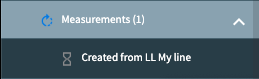
Note: Measurement pages can be added from a Line List and will resemble the following measurement workflow name.
Edit Sample Only Button
-
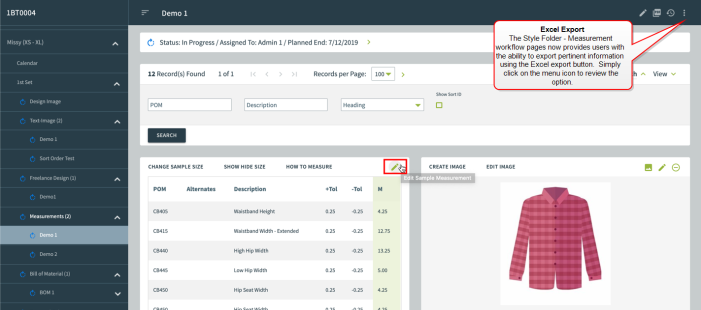
Click the Edit Sample Measurement pencil icon to enter the sample size measurements.
-
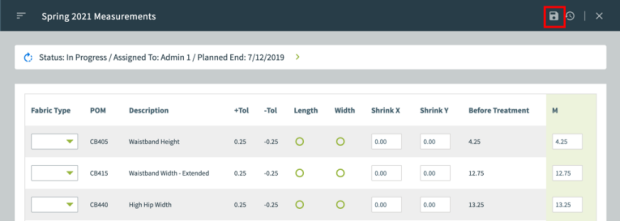
The sample size area enters the edit mode so the user can enter the proper values into the sample size column. The treatment data can be entered beforehand to account for fabric behavior. Click the Save button at the top of the list to complete the process.
NOTE: This area may contain more or fewer columns to fit the user’s needs. This area can be configured by those with Admin permissions, using the EnableAdvColinMeas setting within the Admin> Setting> Style> General to show or hide specific columns.
-
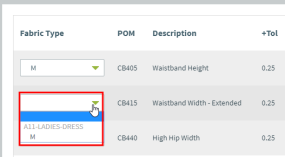
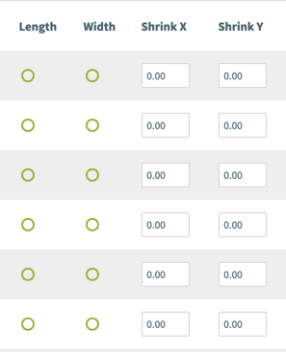
Select a fabric code from the Fabric Type drop-down, which lists models and fabric codes populated on the Style Model page.
-
Enter expected fabric behavior information for the selected fabric type, within the Length and Width columns, and enter values of expected shrinkage in the Shrinkage X and Shrinkage Y columns. For example, the fabric’s behavior is expected to shrink in width by 3%, and the pieces will be affected in the direction of the X-axis according to their pattern orientation in the model.
Note: If pre-treatment calculations are not relevan for the product(s) being developed, the fields required for this purpose can be hidden using the Admin setting "EnableAdvColinMeas" found under Admin>Setting>Application>Style>General.
-
Finally, enter the values for the sample size in the last column. The sample size selected for the template is displayed at the top of the column.
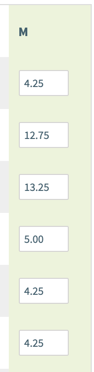
-
To save time, use the F function keys (HotKeys) to enter fractions in all areas where measurement increments can be entered.
F1  = 1/8
= 1/8
F2  = 1/4
= 1/4
F3  = 3/8
= 3/8
F4  = 1/2
= 1/2
F5  = 5/8
= 5/8
F6  = 3/4
= 3/4
F7  = 7/8
= 7/8
Grading Increments
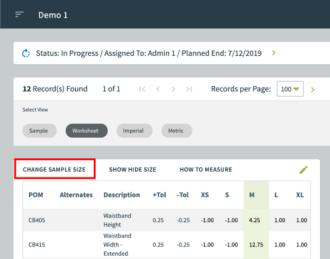
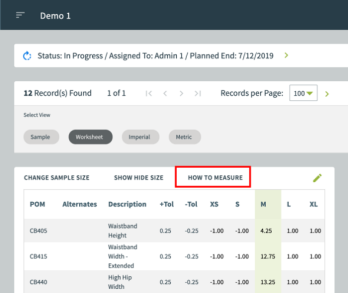
After entering the sample size values, select the Worksheet tab available within the View area, to view the grading increments for each size. The fully graded size range is viewable in inches by choosing the Imperial tab or view the centimeters by selecting the Metric tab.
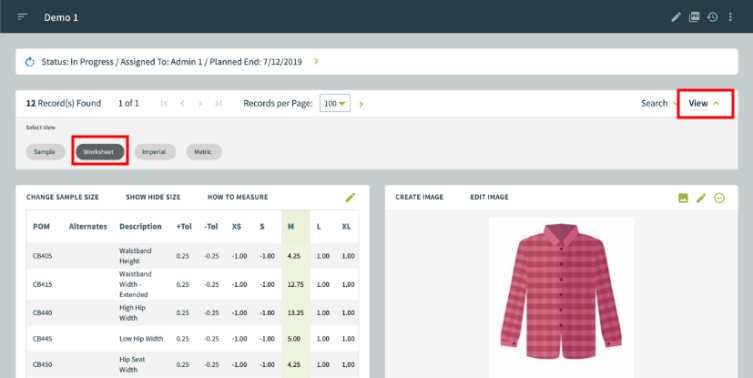
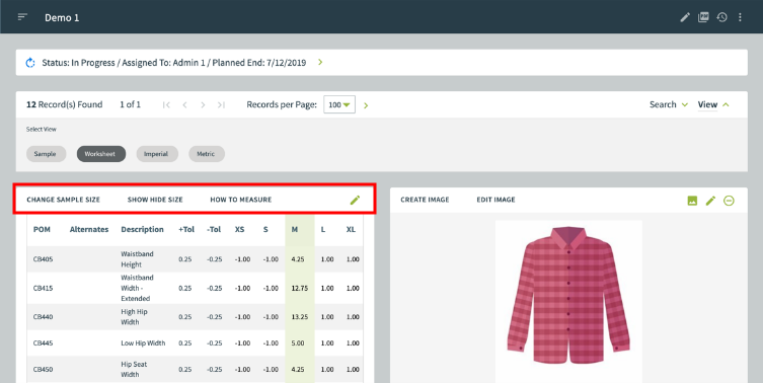
Other options on the page include
-
Change Sample Size: Change the sample size
-
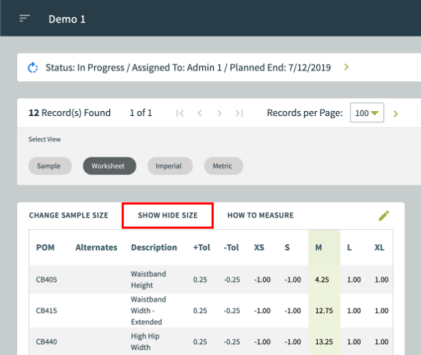
Show Hide Size: Remove sizes from the size range for this style
-
How to Measure: Display the “how to measure” images and text associated with each POM
-
Edit Sample Measurement (Pencil Icon): Modify the sample size values
-
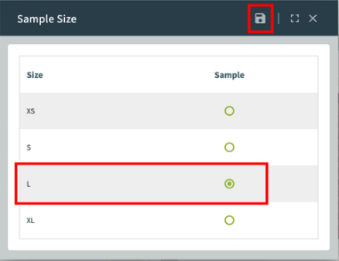
Click the sample size button to change its sample size.
-
A new window or tab appears. Select the appropriate sample size.
-
Click the save button, then press close to return to the Measurements page.
-
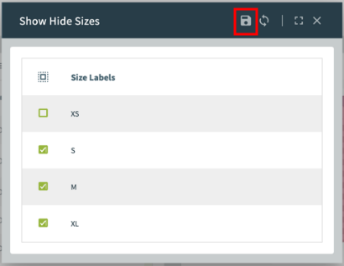
Click the show hide size button to open its window and view a list of available sizes.
-
Uncheck any undesired sizes. Selecting the synchronize button automatically selects the sizes included in the size range. This will uncheck the sizes that do not apply to the size range for the style.

-
The Show Hide Sizes window only displays checked sizes within the size range selected for the style. Click save to capture the change.
-
Click the How to Measure button to open its guide.
-
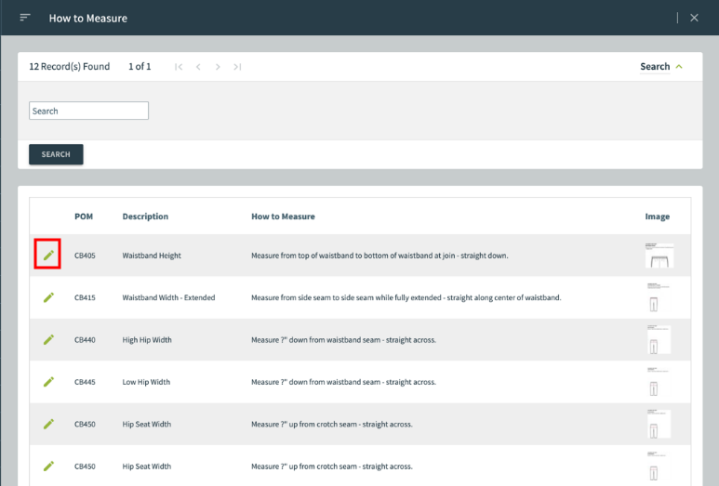
The How to Measure guide opens and lists available POMs. Modify each item by selecting its pencil icon.
-
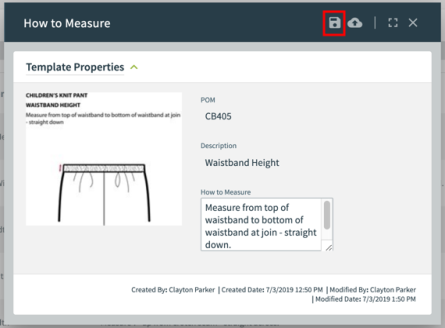
Make any necessary edits within the How To Measure field. Once edits are complete, click the save button to store the new information and return to the How To Measure screen. Alternatively, click close to cancel the additions and return to the How to Measure screen.
-
Click close to return to the Measurements page.