ACCUSCAN TUTORIAL
Updated for 9.0.0
AccuScan now supports long file names for piece names and sizes. A piece name can now be up to 50 characters and alphanumeric size names can be up to 30 characters. Rule table and model names can be up to 50 characters in length.
The piece name prefix can be up to 45 characters with a maximum of 5 characters for the starting piece number.
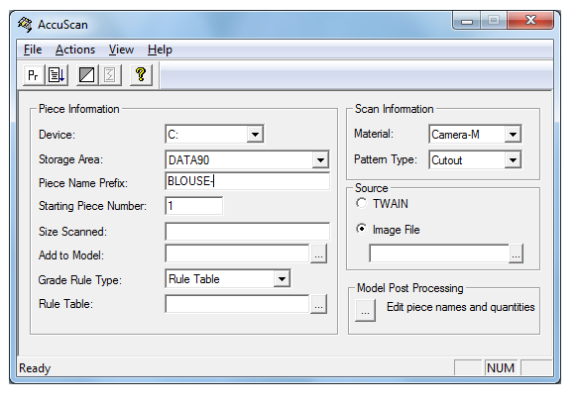
ACCUSCAN TUTORIAL
With the introduction of version 8.5.1, AccuScan can now be used to input images from not just a scanner, but also from a camera.
Images of pattern pieces can now be converted to AccuMark pattern pieces in 8.5.1. The pattern pieces are affixed to a special mat with targets. The targets help the AccuScan software understand the scale and perspective of the image. Images can be taken with almost any camera and brought directly into Pattern Design.
When photographing pattern pieces, use a Gerber supplied template mat to ensure the image scaling and orientation. Mats available are:
|
Gerber Part Number |
Mat Description |
|
97550100 (default mat) |
Black Styrene Mat, 26X36 inches |
|
97550200 |
White Styrene Mat, 26X36 inches |
|
97550300 |
Black Styrene Mat, 48X32 inches |
|
97550400 |
White Styrene Mat, 48X32 inches |
The mat is available in both black and white background colors. The mat should be a contrasting color to the pattern pieces. There are two sizes available, medium and large, to accommodate different size pattern pieces. Refer to the part numbers above to order different mats.
Before photographing pattern pieces, install the Template Mat following these directions. Use the provided picture hanging strips to ensure the mat is firmly secured to the wall.
Note: The mat can be used on a table or floor if space is an issue, but be sure there is not a glare from overhead lighting on the mat before photographing.
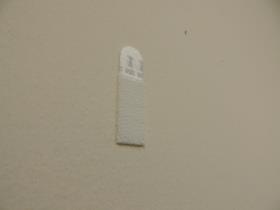
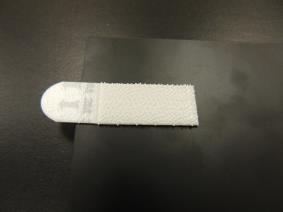
Follow the images below to use the Picture Hanging Strips to attach the template to a wall.
-
Place a strip on the back of the template mat.
-
Place a strip on the wall.
-
Line up the velcro strips on the picture hanging strips to secure the template to the wall. Place velcro strips on both top and bottom of the template mat to ensure it does not curl or bow away from the wall.
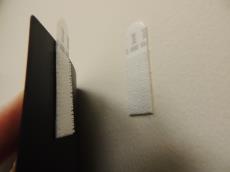
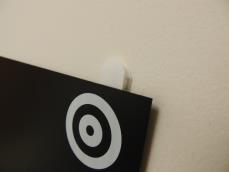
The template is now ready to be used for photographing.

Follow these tips below to ensure a quality photograph.
-
Use a high quality camera with a minimum of 6 megapixels
-
Use a tripod to help steady the camera. This will ensure no movement when the photo is taken.
-
The template should hang in a room with ambient light, without windows, to ensure consistent lighting
-
Stand in front of the template
-
Take the picture without flash if you have good light in the room, to ensure shadows are not cast on the photo
-
Use a low ISO, for example ISO-100. This setting controls the sensitivity of the image sensor in the camera.
-
Make sure all 8 mat targets are present in the image.
-
Pictures can be stored anywhere, for example on a network drive, as long as the computer with AccuScan installed has access to the location.
NOTE: This picture shows an ideal environment for photographing patterns, the light is overhead and will not cast a shadow on the mat or patterns.